
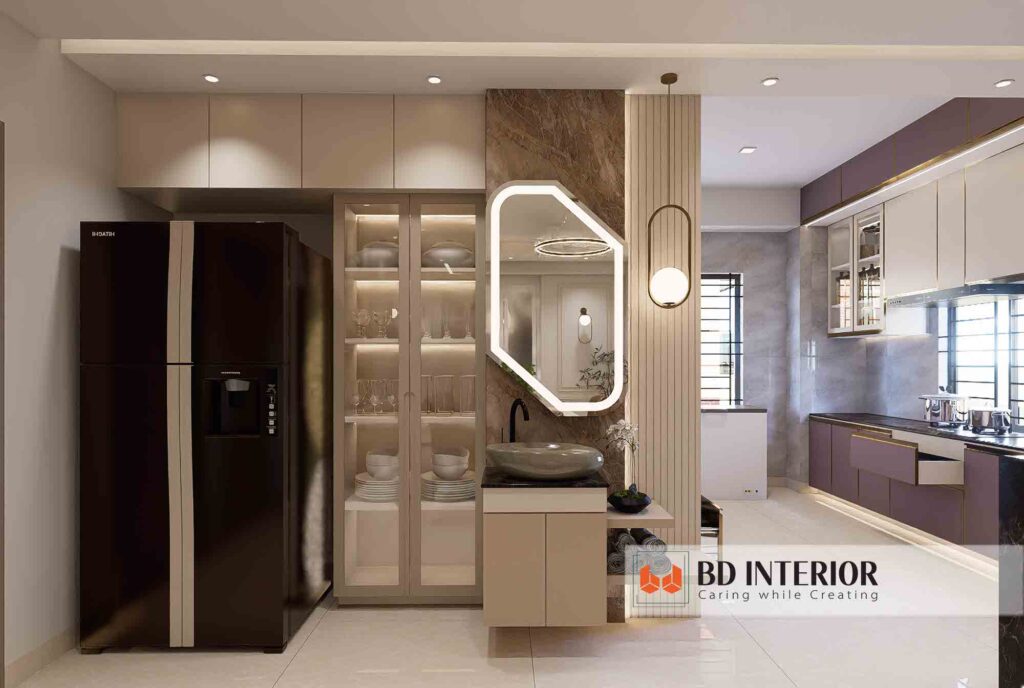
There’s something deeply unsettling about walking into your own home and feeling… nothing. Or worse, mostly a low-grade frustration. Since every room feels chaotic, mismatched, and cramped, you’re not alone; I’ve met plenty of Dhaka homeowners who stare at their living rooms, wondering where it all went wrong.
The good news? Redesigning your interior doesn’t demand a complete job or a fat bank balance. What it does demand is a clear, methodical process.
In this guide, I’ll walk you through exactly how to redesign your house interior, room by room, fix by fix, without losing your sanity or your savings.
- Ruthless decluttering, a tight budget, and a core color palette are your first moves before buying new pieces.
- Measure each room and test layouts with a free floor-plan app; the biggest regret is furniture that doesn’t fit.
- Layered lighting, varied textures, and proper scale give a room immediate polish without major construction.
Table of Contents
- Key Takeaways
- What You’ll Need
- Step 1: Define Your Vision and Budget
- Step 2: Declutter and Edit Ruthlessly
- Step 3: Measure and Create a Floor Plan
- Step 4: Choose a Core Palette and Anchor Pieces
- Step 5: Build Layered Lighting
- Step 6: Mix Textures and Finishes
- Step 7: Style and Accessorize
- Troubleshooting
- People Also Ask
- What to Do Next
Key Takeaways
- Declutter first; even a designer-styled room looks messy if you skip this step.
- A tight palette of 4-5 colors repeated across spaces creates instant cohesion.
- Layering at least three light sources removes flat, unflattering shadows.
- Always place a rug large enough so the front legs of your sofa and chairs sit on it.
What You’ll Need
To redesign your house interior, you need a measuring tape, a free floor-plan app (MagicPlan or RoomPlanner work well), a notebook for budget tracking, painter’s tape, a smartphone camera, and roughly 20–30 hours spread over two or three weekends. The skill level required is basic DIY comfort and a willingness to experiment.
You’ll also want a color wheel (or a digital palette generator like Coolors), a few swatches from a local paint shop, and a list of the furniture you already own. Photograph every room from the doorway, straight on, so you can review the layout later without visual bias.
In Bangladesh, a lot of homes rely on ceiling fans. Take note of low-hanging fixtures; you might need to adjust lighting placement to avoid shadows from spinning blades.
Step 1: Define Your Vision and Budget
Start by naming the feeling you want: calm and airy, bold and cozy, modern minimalist, and then put a tight budget on paper in taka. A clear vision stops you from bouncing between styles, and a firm budget prevents the “just one more thing” spiral that inflates costs by 30–nearly 40% without adding real comfort.
Sit down with a notebook and write three words that describe the mood you need. Not what someone on Instagram has, but what actually makes you exhale when you walk in.
Then assign a number. In Dhaka, a modest refresh of a 1200-square-foot apartment (new paint, lighting, some furniture swaps) might run Tk 500,000–12,00,000.
Break that budget into envelope categories: paint, lighting, textiles, furniture, and a 10% buffer for surprises. That’s a major gap. Curiously, yes, surprises; I once discovered a section of wall so damp that the plaster crumbled behind a wardrobe; that buffer saved the timeline.
A common trap is skipping the budget altogether; about 7 out of 10 impulsive redecorations I’ve seen end up overspending on one statement chair. Not exactly what you’d expect. Sounds too great to be true? Let’s see. While the rest of the room still looks unfinished.
In most scenarios, this detail matters more than it might (a detail often overlooked) seem right now.
What if I can’t settle on a single style?
Can’t decide between mid-century warmth and clean Scandinavian lines? That’s common, and it’s why designers use a “unifying material”: pick one finish, like warm birch wood or black metal, and repeat it in every room.
This trick acts as a visual thread. If your entry console has black legs, bring black into the dining chairs or a floor lamp. The cohesion will pull the whole house together even. If the furniture styles differ slightly, test your palette by taking photos of each room and seeing.
If the same colours or materials appear at least twice.
Step 2: Declutter and Edit Ruthlessly
Clear out everything that doesn’t serve a purpose or bring you joy. Decluttering before redesigning instantly makes rooms feel larger, and it gives you a clean canvas to see the actual architecture, not just piles of stuff.
Plus, if it hasn’t been used in a year, it’s eating precious square footage. I helped a family in Gulshan clear out a spare bedroom that had become a dumping ground; once emptied, the natural light alone made the space feel like a new addition. More importantly, after editing, you’ll notice the room’s natural focal points and width; that’s what you’ll design around.
Step 3: Measure and Create a Floor Plan
Measure every wall, window, door swing, and outlet. Then drop those dimensions into a free room-planning app and place your anchor furniture (sofa, bed, dining table) first. This one step prevents the single most expensive mistake: buying a sofa that blocks a pathway or a rug that’s too small.
On the surface, use painter’s tape on the floor to outline the footprint of any new piece before you order it. In compact Dhaka apartments, even 15 cm of extra depth can choke a walkway. Not exactly what you’d expect. I’ve seen a beautifully carved wooden bed arrive only to discover it left 48 cm of clearance along the side, hardly enough to open a wardrobe.
That’s a major gap, and after you map the layout, walk the tape path a few different times.
Why is measuring before buying furniture so critical?
Roughly 60% of unhappy room makeovers stem from scale issues, not style. A room looks polished when the furniture fits like it belongs, not squeezed into corners. Proportion governs everything. Rugs should anchor the main seating zone; an 180×240 cm rug under a 220 cm sofa constantly works.
That’s a major gap. But pull the rug out. At least the front legs of the sofa and side chairs rest on it. If the rug just floats in the middle.
Impact of Design Moves on Room Feel (Expert Survey)
Step 4: Choose a Core Palette and Anchor Pieces
Pick five colors that repeat across rooms: three neutrals, one warm accent, one cool accent, and then select one anchor piece per space (sofa, bedhead, dining table) around which everything else revolves. This creates a deliberate rhythm that looks expensive and intentional without matching everything.
Start with the largest upholstered item’s color; then pull the wall color two shades lighter. In a Dhaka flat, light neutral walls like soft greige or warm ivory make the space feel airier. Which is a lifesaver during monsoon gloom, so use your accent colors in cushions, artwork, or a single painted alcove.
And yet, keep in mind what we talked about earlier: you don’t need everything to match, just to relate. Hold a photo of the room on your phone and squint. If the palette feels calm, you’re on track.
Step 5: Build Layered Lighting
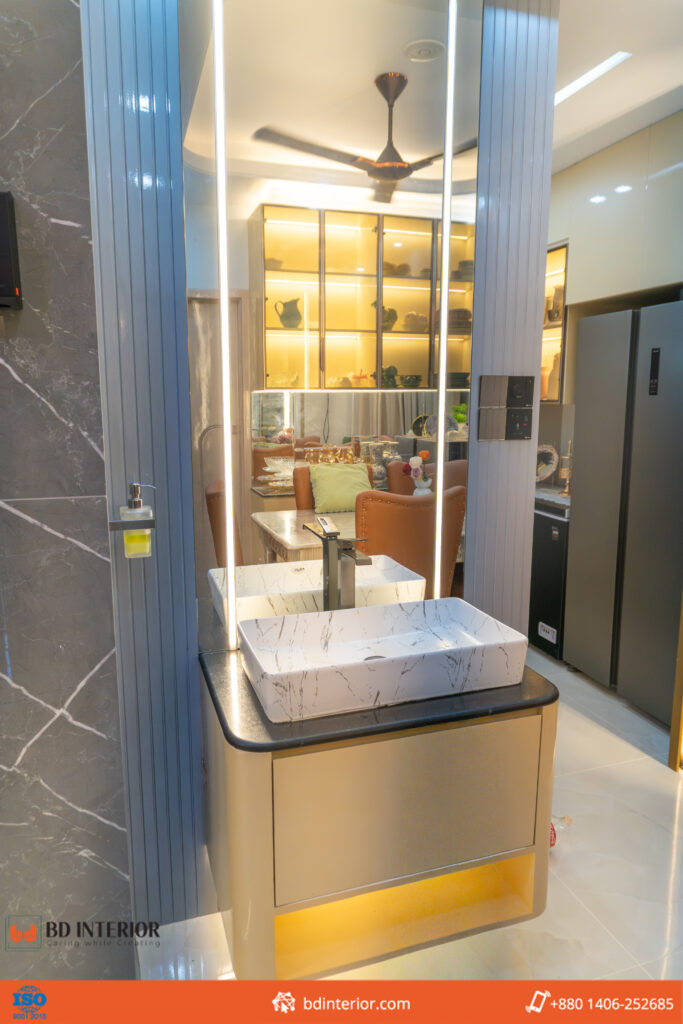
Replace a single ceiling fixture with three types of light: ambient (overhead or wall wash), task (reading lamps, under-cabinet strips), and accent (picture lights, floor uplights). Layered lighting instantly makes a room feel larger, warmer, and more functional.
No electrician, no problem. Plug-in wall sconces; battery-operated picture lights; and slim LED strips behind a TV unit all layer light without rewiring.
In my own dining room, a single overhead bulb left corners in permanent shadow. I added a floor lamp to the left of the sideboard and a small clip light on a shelf; the whole room lifted.
The trick is to place lights at different heights: a pendant low over a coffee table; a floor lamp at eye level, and candles or small LEDs on a console. This reduces harsh shadows and makes everyone look better.
How can I add layered lighting without an electrician?
Plug-in fixtures, battery-powered picture lights, and clip-on task lamps give you 80% of the dramatic effect without cutting into the ceiling. You can even use long extension cords tucked behind furniture.
Position these lights so they bounce off walls or highlight texture. For renters in Dhaka, adhesive LED strips under kitchen counters or inside open shelving shift a room in an afternoon. Just be mindful of the fan blades; dimmer, warm-white LEDs around 2700K keep the mood intimate even under a spinning fan.
Step 6: Mix Textures and Finishes
Combine rough with smooth, matte with shiny, natural with synthetic. Texture adds depth and tactility, especially when your palette is restrained. A room with only one finish feels flat, like a showroom, not a home.
From a broader view, introduce jute or sisal rugs (abundant in local markets), woven cotton throws, a lacquered tray, a velvet cushion, and a raw terracotta planter. In a neutral-toned living room, these contrasts make every surface interesting without screaming for attention. The rule of thumb: at least three different tactile materials in any seating zone. I once swapped all wooden accents for a mix of cane, brass, and soft linen; the same beige-and-white room suddenly felt layered and complete.
Step 7: Style and Accessorize
Bring in the final layer with intention: art, plants, books, and personal objects. But hold back, group items in odd numbers, vary heights, and leave negative space so the eye can rest.
Style a few surfaces, not every surface. A console table might get a stack of three books, a small plant, and a ceramic bowl.
A coffee table might get a tray with a candle and a coaster set. The goal is a collected, lived-in feel, not a clutter show. In Bangladesh, a low-maintenance indoor plant like a snake plant or pothos does double duty; it adds life and cleans the air.
Step back after arranging, snap a photo, and see. If anything snags your eye, editing is as much part of styling as adding.
Troubleshooting
Three common pitfalls ruin a careful redesign: buying without measuring, ignoring scale, and letting color run wild. But each is fixable with a quick reset.
- Bought furniture that’s too big? Return it if possible; otherwise, pull the piece away from walls and angle it slightly to create breathing space.
- Room still feels cluttered after decluttering? The issue is often visual clutter, too many small objects on surfaces. Group collections into trays and limit shelf items to a few statement pieces.
- Palette looks chaotic. Snap a black-and-white photo; if tones are muddy, reduce one accent and add a larger neutral piece to calm the scheme.
- Lighting still feels harsh. Swap cool-white bulbs (6500K) for warm-white (2700K) and add a dimmer plug to any floor lamp.
People Also Ask
How long does it take to redesign a house interior?
A full room-by-room refresh usually takes 4–6 weeks if you work weekends. A single room can be done in a focused week. The key isn’t trying to do everything at once. Focus on the most lived-in rooms. One thing to note: then flow into adjacent spaces.
Do I need an interior designer to get a cohesive look?
No. With a clear palette, smart measurements, and a few free apps, you can achieve a designer-level cohesive look on your own. What you’ll notice is that designers add value. When you have tricky structural constraints or want custom millwork. Plus, the core principles of cohesion are free.
What’s the most cost-effective way to make a room look bigger?
Declutter thoroughly, paint walls a light neutral, and use mirrors opposite windows to double natural light. In compact Dhaka homes, replacing heavy curtains with sheer panels and adding a large wall mirror instantly lifts the space.
How do I avoid a design that looks dated in two years?
Anchor the room with classic neutral furniture and use accessories for trends. This lets you swap pillows, art, and lamps seasonally without major expense. Trendy colours in big-ticket items like sofas constantly date rapidly, so keep those pieces timeless.
Should I repaint before or after bringing in new furniture?
Paint first. It’s far easier to match furniture to a fresh wall colour than to repaint around a heavy sofa. From a broader view, schedule painting early. So the new colour can cure, and then place furniture against a completed backdrop.
What to Do Next
Start with one small room, apply these seven steps, and live in it for two weeks before tackling the next space. Real confidence comes from finishing one area, not from starting five at once.
Your next move is to choose that first room, maybe a bedroom or the living room, and run through the checklist. From what we can tell, then share your results with a friend or on social media. Because publicly committing to the next room keeps you accountable; the whole house will follow.
- Pick one room, the one where your discomfort is highest, and commit to finishing only that space.
- Declutter every surface, remove everything portable, then deep clean; photograph the empty room.
- Set a maximum budget, in taka, with a 10% buffer, and write it at the top of your design notebook.
- Create a digital floor plan, using MagicPlan or RoomPlanner, and test at least two layouts before buying anything.
- Order paint samples and textiles, test them in the room’s light at different times of day.
- Execute the steps in order, palette, lighting, anchor pieces, textures, accessorising, and pause after each to photograph.

S.M. Rezaul Haque is a seasoned interior design consultant with 15+ years of experience. An AIUB graduate and Senior Vice President of BIDCOA, he specializes in creating functional, sustainable, and visually inspiring spaces. As the driving force behind BD INTERIOR, he has helped shape 700+ Bangladesh’s most innovative interior design projects.