
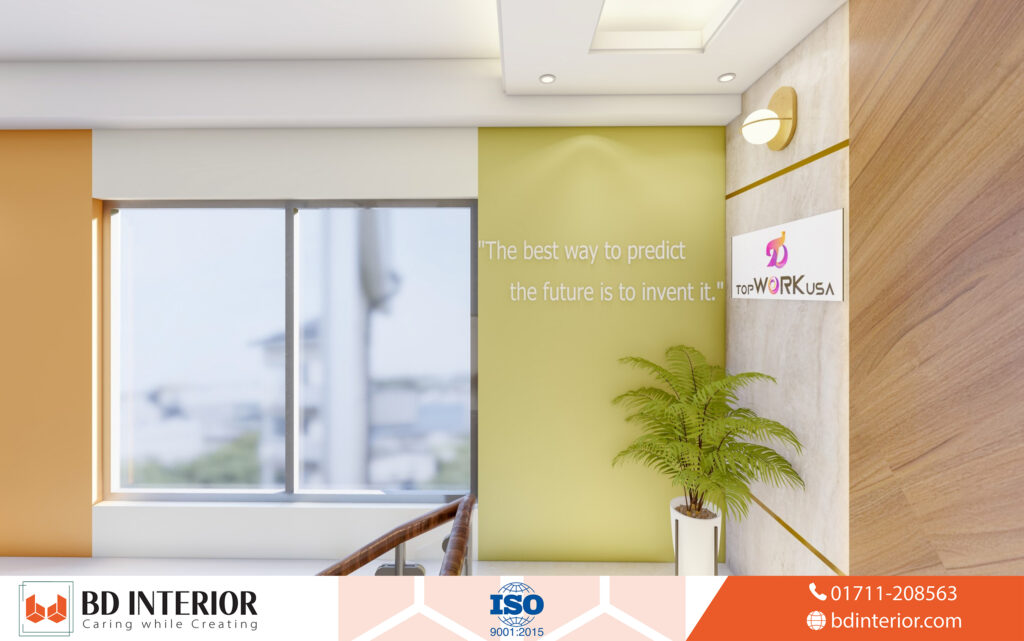
Professional wall interior design shapes how every square foot of your living space looks, feels, and performs. Plain drywall constantly leaves rooms feeling unfinished, while intentional textures and deliberate palettes instantly create depth. Getting your walls right doesn't need endless trial and error; it demands a clear plan grounded in surface prep, material balance, and proper installation.
Industry reporting confirms that color drenching remains a strong direction for 2026 — with walls, trim, ceiling, and doors painted in one hue to build a more immersive room. At the same time though, tactile finishes like microcement and breathable plaster have replaced glossy, flat surfaces across urban residences from Dhaka to Chittagong. 2026 guides also note budget flexibility, from painless peel-and-stick updates to high-end floor-to-ceiling stone or plaster installations. This guide breaks down the exact execution sequence to turn your plain surfaces into enduring, beautiful focal points.
Key Point
If you want immediate clarity before buying materials, review these core realities:
- Pick only one hero material to anchor the room, keeping secondary finishes down to a single contrasting texture.
- Moisture protection always precedes decorative finishes, especially in regions with heavy monsoons where surface peeling ruins expensive topcoats.
- High-impact visual changes can take anywhere from 48 hours for paint to 7–14 days for custom woodwork installations.
Table of Contents
- Prerequisites and Material Planning
- Step 1: Assess Room Conditions and Surface Integrity
- Step 2: Select Your Architectural Treatment and Surface Material
- Step 3: Prepare and Waterproof the Substrate
- Step 4: Apply the Primary Finish and Execute Color Drenching
- Step 5: Install Layered Lighting and Secondary Accents
- Common Mistakes and How to Avoid Them
- People Also Ask
- What to Do Next
Prerequisites and Material Planning
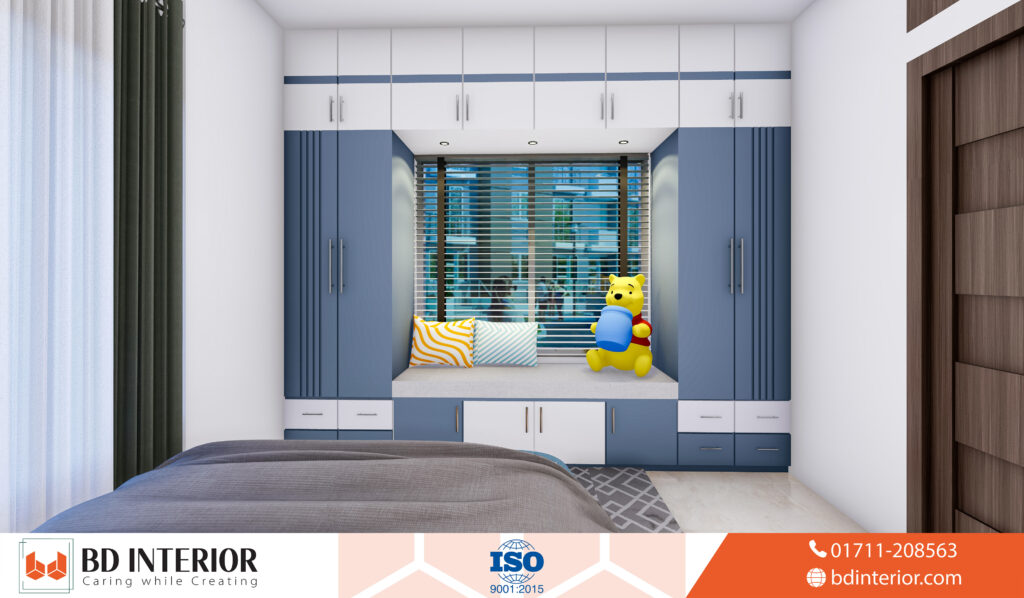
To execute professional wall interior design, gather structural supplies, surface primers, and specialized measuring tools before work starts.
Still, proper preparation prevents costly job-site pauses. Do a realistic inventory of tools and materials aligned with your chosen finish before touching a single wall. Most residential wall upgrades take 7–14 days from first prep to final curing.
Required Tools and Equipment
- Precision laser level and a measuring tape
- Sanding block (120-grit and 220-grit sandpaper)
- Putty knives and steel plastering trowels
- Microfiber paint rollers with matching angled trim brushes
- Heavy-duty drop cloths and painter tape
Supplies and Materials
- Anti-fungal masonry primer (such as Asian Paints Royale Wall Base)
- Topcoat finish: microcement mix, tactile lime plaster, or breathable acrylic emulsion
- Wall substrate fasteners, anchors, and construction adhesive
- High-density moisture-resistant MDF strips or engineered timber slats
| Finish Type | Average Cost (BDT / sq. ft.) | Skill Level | Cure Time |
|---|---|---|---|
| Premium Acrylic Emulsion | ৳25 – ৳45 | Beginner | 24 Hours |
| Breathable Lime Plaster | ৳85 – ৳160 | Intermediate | 72 Hours |
| Fluted Engineered Timber | ৳180 – ৳350 | Advanced | 3–5 Days |
| Microcement Overlay | ৳220 – ৳480 | Professional | 7 Days |
Step 1: Assess Room Conditions and Surface Integrity
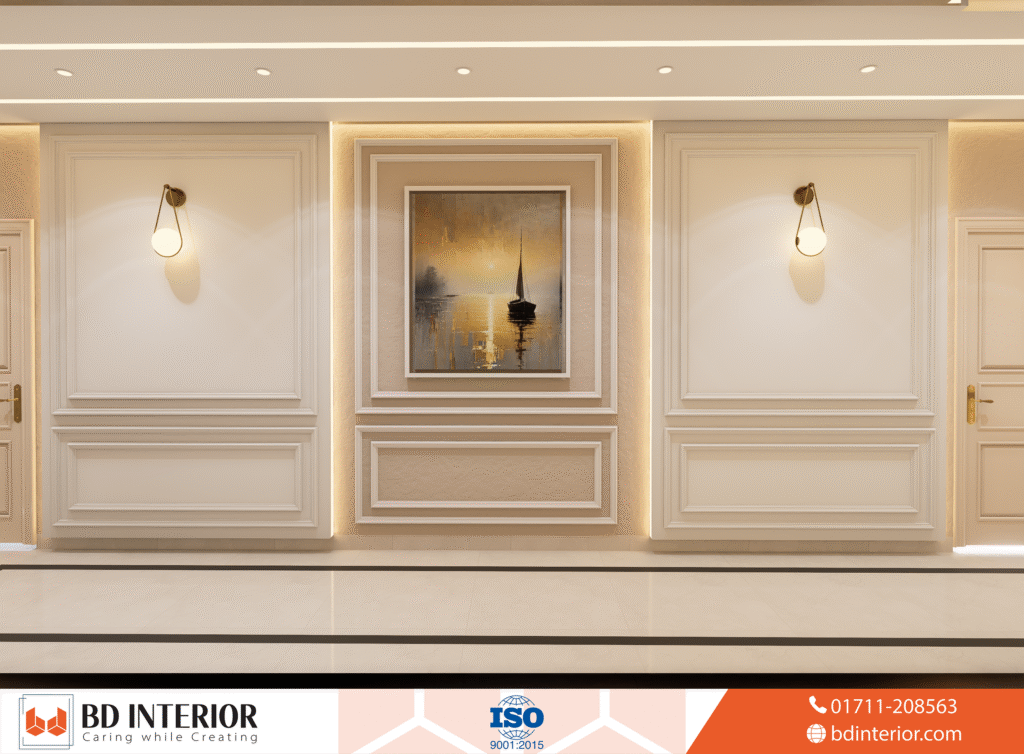
Begin your wall interior design by checking masonry surfaces for structural cracks, dampness, and poor air circulation that could destroy new finishes.
From a broader view, use a strong flashlight and scan your target walls at a steep angle to reveal hairline fissures, bubbling paint, or white powdery deposits known as efflorescence. In coastal areas like Chittagong or river-adjacent zones in Dhaka, moisture easily travels through brickwork. Installing decorative paneling or wallpaper over damp brick causes hidden mold growth within months.
"Touch is becoming the new luxury in wall design, with imperfection and raw texture taking priority over flat perfection." — The Digest Online
Run an electronic moisture meter across three height levels on the wall. If readings exceed 12% moisture content, solve external drainage or waterproofing problems before proceeding with interior aesthetics. Check the natural light source: north-facing rooms with cool light need warmer wall tones. While bright south-facing rooms can handle deep, saturated colors.
Step 2: Select Your Architectural Treatment and Surface Material
Select a single primary surface material and one complementary texture to establish an architectural foundation without overcrowding your room.
From a practical standpoint, modern residential styling favors clean lines and physical textures; top trend reporting highlights microcement and tactile plaster as leading 2026 finishes. Rather than scatter five different decorative items across a room, focus on one primary surface treatment. Square paneling, wainscoting, or picture-frame moulding add structural character to flat rooms.
"One primary material, one secondary material, and a controlled palette create a more hand-picked wall story." — Sarmal Design
Consider this. Most likely in apartments located in Banani or Gulshan, fluted wooden panels and ribbed timber slats put together visual height in rooms with standard 9.5-foot ceilings. If you prefer natural softness, consider acoustic cork or subtle grasscloth coverings. The golden rule is restraint: let your main wall treatment cover 60% of the room visual weight, keep painted surfaces around 30%, and reserve give or take 10% for metallic or organic accents.
Typical Lifespan of Wall Finishes Under Proper Maintenance (Years)
Step 3: Prepare and Waterproof the Substrate
Prepare existing walls by removing flaking paint, repairing cracks with polymer putty, and rolling on a salt-resistant waterproofing primer.
It all goes back to that earlier idea, scrape away loose, peeling layers using an angled scraper and sand down rough ridges with 120-grit sandpaper until the wall is flat. Wipe the whole perimeter with a damp microfiber cloth. If dust remains, primer won't adhere and plaster may pull off with painter's tape later.
Mix high-grade wall putty with acrylic bonding agents for crack repair. Fill holes, let them dry for 6 hours, and sand them smooth with 220-grit paper. Apply an anti-fungal, moisture-sealing primer across the whole wall to prevent damp spots from bleeding through topcoats during humid months.
Step 4: Apply the Primary Finish and Execute Color Drenching
Apply your decorative finish evenly across the surface, extending matching tones over trim, doors, and ceilings to complete modern color drenching.
Across the board, color drenching has established itself as an impressive styling move for cohesive rooms. Rather than breaking up small apartments with stark white baseboards and cream walls, coat everything in a single calculated tone like warm taupe, sage, or muted terracotta. This technique removes jarring visual breaks and makes compact bedrooms and dining areas appear really larger.
"Color drenching has become the gold standard for high-end interior design." — The Digest Online
When applying textured plaster or microcement, use a flexible Venetian trowel and work in sweeping, overlapping arcs to build thin 1mm layers. Allow 12 hours between coats, and for painted finishes, use a short-nap roller for walls and an angled sash brush for detailed trim. Apply two uniform coats, keeping a wet edge to avoid overlap marks.
Step 5: Install Layered Lighting and Secondary Accents
Complete your wall interior design by mounting directional accent lighting and balanced secondary materials such as botanical elements or metal hardware.
Texture needs grazing light to reveal its detail. A flat ceiling light washes out plaster relief and fluted paneling. Position warm LED strip lights (2700K to 3000K) behind drop ceilings or along baseboards to throw soft shadows upward. Wall sconces placed 60 inches above the floor bring human-scale warmth to bedrooms and hallways.
By most accounts, bring in biophilic parts to balance engineered timber or stone veneer. Preserved moss frames, wall-hung planters with snake plants, or botanical murals add life without taking up floor space. In most cases, if you used cool microcement on the walls, balance it with warm brushed brass switch plates and picture frames.
- Measure total wall area — Calculate square footage to buy 15% extra material for cuts and touchups.
- Seal wall hairline cracks — Use flexible polymer-based sealant to stop movement fissures.
- Prime with anti-fungal sealer — Roll two coats of damp-proof primer to block monsoon moisture.
- Execute your chosen finish — Apply microcement, fluted wood, or drenched paint systematically.
- Install directional lighting — Position warm sconces or cove lighting to highlight surface textures.
Common Mistakes and How to Avoid Them
Avoid overcrowding walls with competing textures, skipping substrate moisture tests, and using flat overhead lighting that flattens decorative relief.
Homeowners often rush into styling without fixing base-level issues, so below are common pitfalls and how to resolve them:
Overcrowding Competing Textures
Combining exposed brick, high-gloss marble panels, and geometric wallpaper in one living area build visual chaos. Stick strictly to Sarmal Design's formula: one chief material, one secondary material, and a controlled color palette. If your wall features deep fluted timber, keep neighboring walls finished in a smooth matte tone.
Ignoring Seasonal Humidity and Moisture
But here's the thing – painting over damp masonry causes paint to bubble within months. Quality wall treatments usually last 5-7 years with proper maintenance. But standard paint may need refreshing every 3-4 years in high-humidity areas. Always apply breathable, anti-fungal sealers before installing wallpaper or decorative plaster.
Inadequate Wall Surface Preparation
Moving on to something related, mounting picture-frame moulding or peel-and-stick panels on uneven plaster creates visible gaps. Use a straight edge to find low spots and fill them with skimming compound before attaching moulding strips.
People Also Ask
How long does wall interior design last in humid climates?
Quality wall treatments usually last 5-7 years with proper maintenance.
In high-humidity areas, paint finishes may need refreshing every 3-4 years. Apply moisture-resistant sealers and breathable primers to bigly extend the service life of delicate wall finishes.
What is color drenching in modern interior design?
Color drenching means painting walls, ceiling, baseboards, and doors in one single hue.
This technique removes visual breaks, creating a smooth and expansive environment. It works exceptionally well in both compact apartments and large living rooms.
Can you install modern wall panelling over uneven plaster?
Installing wood or MDF panelling directly over uneven plaster results in crooked seams and loose adhesion.
Skim-coat the wall with leveling compound or secure wooden furring battens to create a perfectly flat structural grid first.
Which wall finish resists monsoon humidity best?
Breathable limewash, microcement, and anti-fungal acrylic emulsions perform best under monsoon conditions.
These finishes allow moisture vapor to pass through naturally without causing surface blistering, peeling, or black mold colonies.
What to Do Next
Transforming your space starts with selecting a single target room, evaluating moisture levels, and assembling your material palette.
On closer inspection, don't tried to renovate every room at once. Pick one feature wall in your living room or master bedroom to refine your process. Order physical sample swatches of paint, wood slats, or plaster to observe how they look under morning and evening light in your concrete home.
Take accurate measurements of your chosen wall, calculate necessary primer and material quantities, and schedule your prep work over a dry weekend. With thoughtful planning, high-grade primers, and controlled textures, your wall interior design will look refined and stand strong for years to come.

S.M. Rezaul Haque is a seasoned interior design consultant with 15+ years of experience. An AIUB graduate and Senior Vice President of BIDCOA, he specializes in creating functional, sustainable, and visually inspiring spaces. As the driving force behind BD INTERIOR, he has helped shape 700+ Bangladesh’s most innovative interior design projects.