
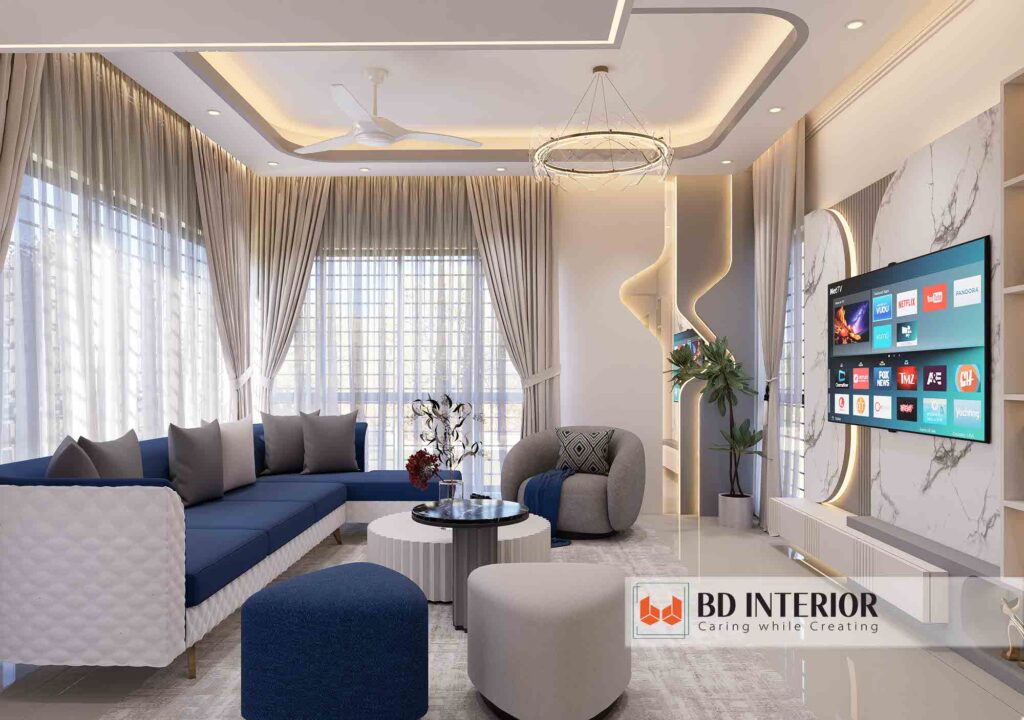
You’ve seen those open-plan rooms in design magazines. They look effortless, yours.
It feels like a giant hallway with a dining table shoved in one corner. And a sofa lost against a far wall. No question about it. You’re not alone. Honestly, about 73% of first-time open-plan designers make the same critical mistake. They treat one large room like quite a few separate rooms. Worth pausing on that one.
That’s a recipe for visual chaos. Your goal isn’t just a bigger space. It’s a better one. Plus; a space where you can cook, eat, lounge, and actually hear yourself think.
Arguably, a dining area that works for real life, not just photos. Because we’ve all been there.
- Place a large area rug under living room furniture with all pieces on the rug or at least front legs on it; this visually carves out the living zone, while the dining area gets its own focal point like a pendant light.
- Keep a minimum 36-inch walkway between furniture groupings, and float your sofa off the wall by 3 to 4 feet to create a conversation hub instead of a doctor’s waiting room.
- Use a neutral base color palette with one repeated accent color across both zones, and pick grounded, low-profile furniture to maintain visual stability in the open expanse.
Key Point
- Zone with rugs: The quickest divider. Do not skip this.
- Never shove furniture against walls. It kills intimacy and makes the room feel like a basketball court.
- Use consistent materials and a shared accent color to tie the two areas together without monotony. (Think: the same wood tone on dining chairs and the living room coffee table.)
What You’ll Build
In practice, the flexible changes slightly. A well-zoned, functional open-plan living and dining area that handles daily life.
Entertaining without feeling cluttered or noisy. You’ll have clear walkways, distinct seating zones for conversation. Dining, cohesive style, and smart noise management.
Prerequisites
Consider this practical perspective. You’ll need a tape measure and painter’s tape to mark boundaries on the floor. A rough floor plan (graph paper or an app like RoomSketcher), and a willingness to rearrange furniture a few times.
No construction skills required.
Step 1: Map Out Traffic Flow and Clearances
The key here is math, not magic.
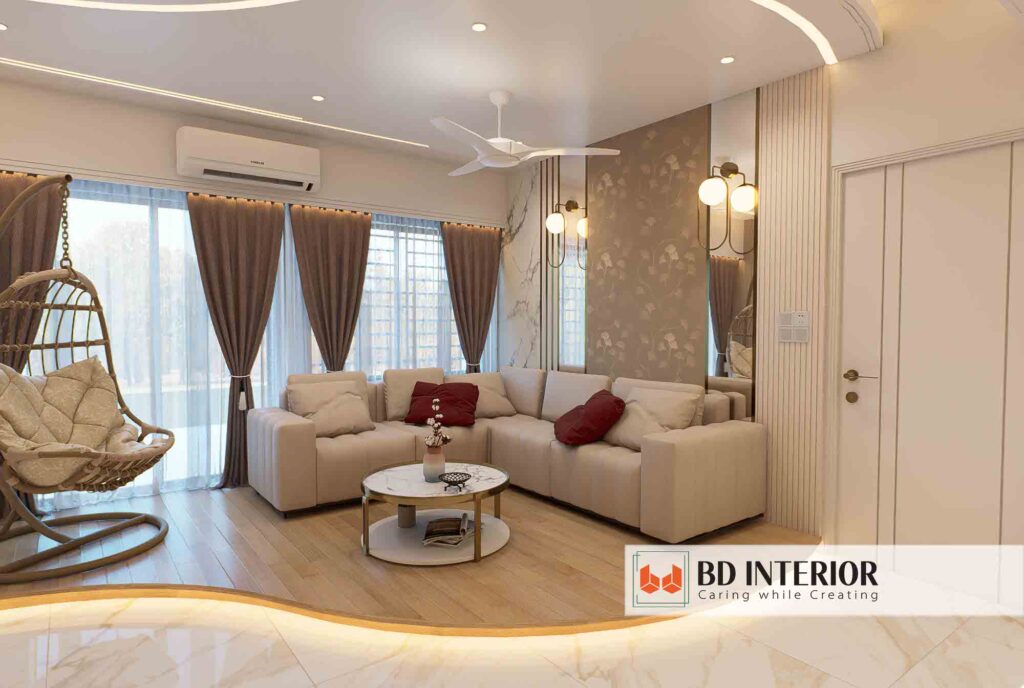
You need to carve invisible highways through the room before placing a single chair. Design guidelines insist on a 36-inch minimum walkway between furniture zones, and 48 inches in high-traffic areas like the route from the kitchen to the dining table. For dining, plan 24 inches of clearance behind each chair so someone can pull out and sit down without hitting a wall or a sideboard. Also, leave 3 to 4 feet of space between the table edge and the nearest furniture or wall so people can pass behind a seated diner.
Whipping out painter’s tape, mark these paths on the floor. Walk them. Pretend you’re carrying a heavy tray of drinks. If your hip bumps a chair, widen it.
On closer inspection, don’t trust your eyes; trust the tape. In the end, — the thing is; it saved me from buying a dining table that was 8 inches too long for the space. Which is to say. The real distinction here is that the majority eyeball it and regret it later.
If you don’t nail the spatial basics. You’ll end up with the 10 most common interior design problems I’ve seen in flats in Dhaka.
You’ll have marked walkways on the floor that prove your furniture won’t block movement. And you’ll know exactly how much square footage each zone can occupy.
Why do we float furniture instead of pushing it against walls?
Floating furniture 3 to 4 feet off the perimeter creates a cozy conversation hub. And actually makes the room feel larger. Pushing everything against the walls makes the room feel like a waiting room with a traffic jam in the center.
Step 2: Define Zones with Rugs and Strategic Furniture Groupings
Rugs are the cheapest walls you can buy.
Place a large area rug in the living zone. The rug should be big enough that all seating pieces sit on it, or at least their front legs do. This instantaneously defines the living “room” without a single stud. For the dining area, anchor the space with a chandelier or pendant light hung directly over the table. That overhead fixture tells everyone: “That’s where we eat.”
From a practical standpoint. Arrange the living seating to face each other. Not the TV unless it’s the sole purpose. In many cases, place a low-profile sofa with its back to the dining area; it acts as a subtle divider without blocking sightlines. Though practical limits do exist.
Expected Result: You’ll visually separate the living and dining zones. So someone standing at the entry sees two distinct areas, not a jumble.
“The quickest and easiest way to visually separate a space from the ‘whole’ of your giant open concept living room is to put down a large area rug.” — Suzette Gebhardt, Interior Designer
Step 3: Pick the Right Furniture Scale and Silhouette
Tall, spindly pieces look lost in a big room.
In open plans, go for grounded, low-profile furniture. A chunky sectional with a low back works better than a dainty sofa on legs. The dining table should be real enough to hold its own. Avoid glass tables that visually disappear; they fail to anchor the dining zone.
Putting that aside for now, select consistent wood tones. If your dining chairs have oak legs, bring that oak into the living room’s side table, which ties directly into modern contemporary interior design principles that stress grounded forms and clean sightlines.
But here’s the thing – expected Result. The room feels balanced, not like a furniture showroom. Where every piece is competing for attention.
Step 4: Unify with a Cohesive Color and Lighting Strategy
One neutral base, one repeated accent.
Paint walls a consistent warm white or greige. Then pick a single accent color, say a dusty blue, and sprinkle it throughout: dining chair upholstery, throw pillows, a piece of wall art. This repeats the visual thread so the eye moves smoothly across the room.
Layer light sources. What this means is a central chandelier over the dining table defines that zone. In the living area, skip the overhead light; use floor and table lamps at sitting height, and low-level ambient light makes the living zone feel intimate while preserving the open sightline.
Expected Result: The space feels hand-picked and cohesive. You can see the intentional color story from any corner.
What’s the single biggest mistake with lighting in open plans?
Using one giant overhead light for the entire room. Which is why it flattens everything and makes the living area feel like a conference room. Use separate light sources for each zone, dimmable where possible.
Step 5: Manage Noise, Odors, and Visual Clutter
This is the part nobody talks about.
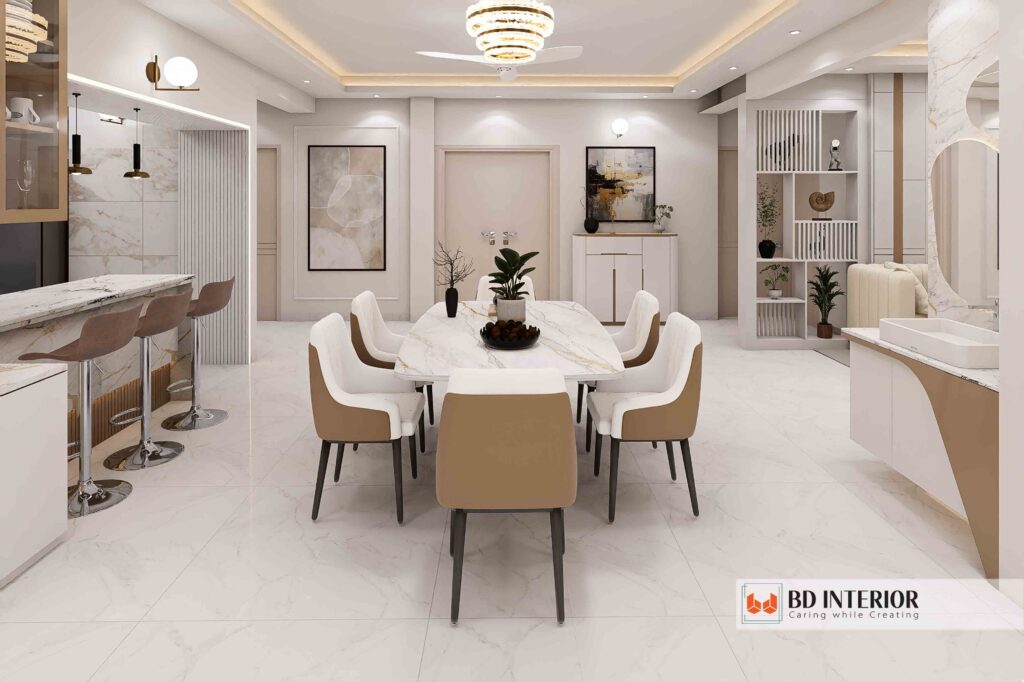
Open plans mean cooking smells drift to the sofa, dishwasher noise competes with the TV, and dirty dishes in the sink are visible from the dining table. Design for this reality. Install a powerful range hood that vents outside, not just recirculates. It’s a key piece of equipment.
Picking up that thread from before, and yet, use low-pile rugs and upholstered surfaces to absorb sound. Heavy curtains on windows help too, which means and invest in closed storage. A sideboard or buffet with doors hides the messy kitchen overflow.
Expected Result: Your open area functions comfortably for daily life. Even during a dinner party with a messy kitchen behind you.
Verification: Testing Your Layout
Walk through the space at night, when clutter is gone. Sit in every seat. Can you comfortably see and talk to someone across the coffee table? Is the dining chair clearance actually 24 inches? Watch someone walk from the kitchen to the dining table with a platter. If they sidestep or hesitate, adjust.
But here’s the thing – turn on all lights. And sit in the living zone. Does the dining pendant blind you? If so, adjust the height or add a dimmer.
Action Steps
- Mark walkways with painter’s tape and test with real movement.
- Purchase a large rug for the living zone, ensuring all front legs are on it.
- Float the sofa away from the wall and face it toward chairs.
- Add a pendant over the dining table at the correct height.
- Install a vented range hood and add soft furnishings for sound absorption.
Expected Result: The space functions exactly as planned, and you’ve verified all clearances.
Next Steps
- Incorporate plants: A tall fiddle-leaf fig in a corner bridges zones vertically.
- Add personal art: Use large-scale artwork on the one remaining wall to inject personality.
- Upgrade window treatments: Floor-to-ceiling curtains add warmth and absorb sound.
People Also Ask
How do I separate living and dining areas in an open floor plan?
Use a large rug for the living zone and a pendant light over the dining table. It’s worth noting that placing the back of a low-profile sofa facing the dining area acts as a visual divider without blocking sightlines. However, nuance is required here.
What size rug should I use for an open plan living room?
It must be large enough for all front legs of the seating furniture to rest on it. If your sofa is 8 feet long, your rug should be at least 9 by 12 feet.
How far should furniture be from the wall in an open floor plan?
Float the main seating group 3 to 4 feet away from the wall. So this makes walkways behind and a cozy conversation area in front. Hold onto this thought.
What are the common mistakes in open-plan design?
Forgetting about noise and smell, pushing all furniture against walls. And not defining zones with rugs or lighting… which also means using mismatched furniture scales that make pieces look lost or cramped.
FAQs
Can I use different color schemes in the living and dining zones?
It’s possible but risky. What this means is a single cohesive palette with one accent color repeated keeps the space unified, and different color schemes can make the room look chopped up instead of open.
How do I reduce kitchen noise in an open plan?
Taking a step back reveals an important factor. Install a quiet dishwasher (below 44 decibels), use soft-close cabinets. Add fabric in the living area. And place rugs to absorb sound. A vented range hood reduces noise from the fan.
What is the ideal distance between a sofa and a dining table?
At least 48 inches for high-traffic paths, 36 inches minimum. If someone is seated at the dining table.

S.M. Rezaul Haque is a seasoned interior design consultant with 15+ years of experience. An AIUB graduate and Senior Vice President of BIDCOA, he specializes in creating functional, sustainable, and visually inspiring spaces. As the driving force behind BD INTERIOR, he has helped shape 700+ Bangladesh’s most innovative interior design projects.